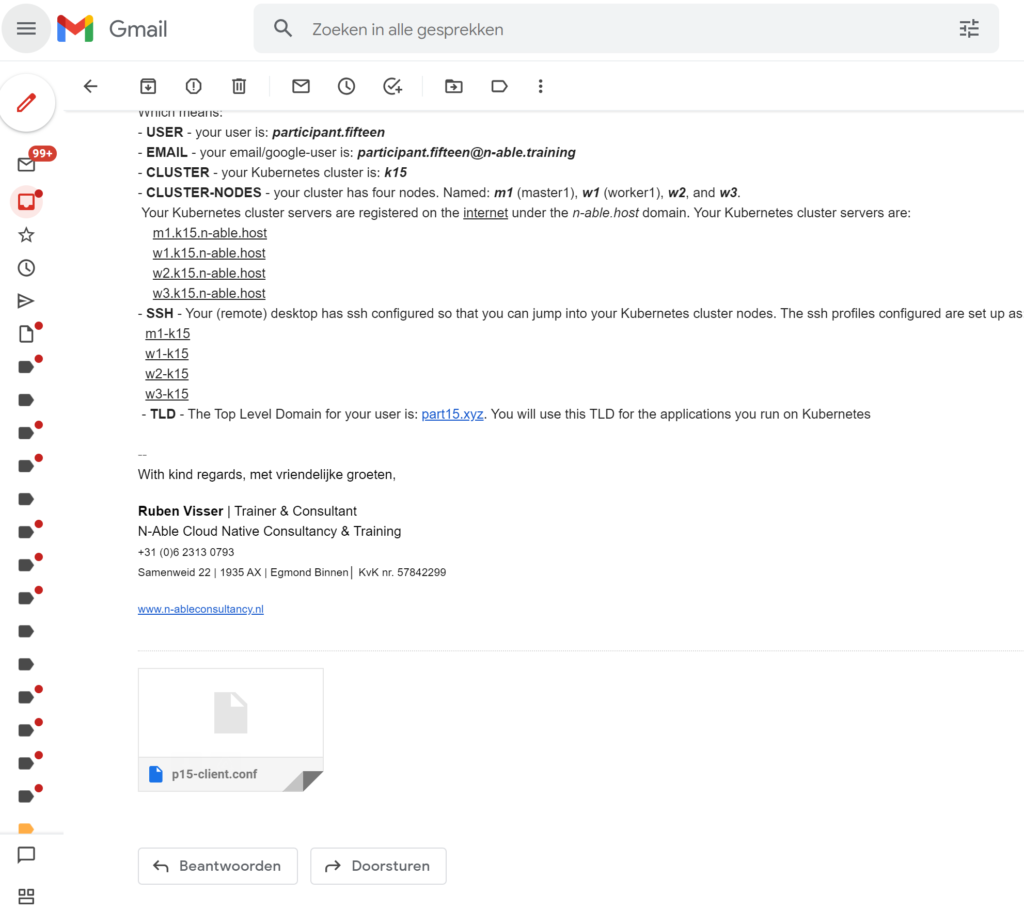
You need the WireGaurd Configuration file send to you in the ‘User Information’ email
This example uses participant.fifteen, you have to follow what is shown, but do it for your participant!
Introduction
By experience, 99% of participants work on Windows, so the setup is explained for a Windows system. Also, based on experience: we know this procedure is almost the same for Mac.
When working on a Linux-based server, you do not have a client GUI, so it is different: you have to configure WireGaurd from the command-line, and the setup differs.
Because time is of the issue: do not hesitate, involve your trainer to help you out, when these instructions do not work for you!
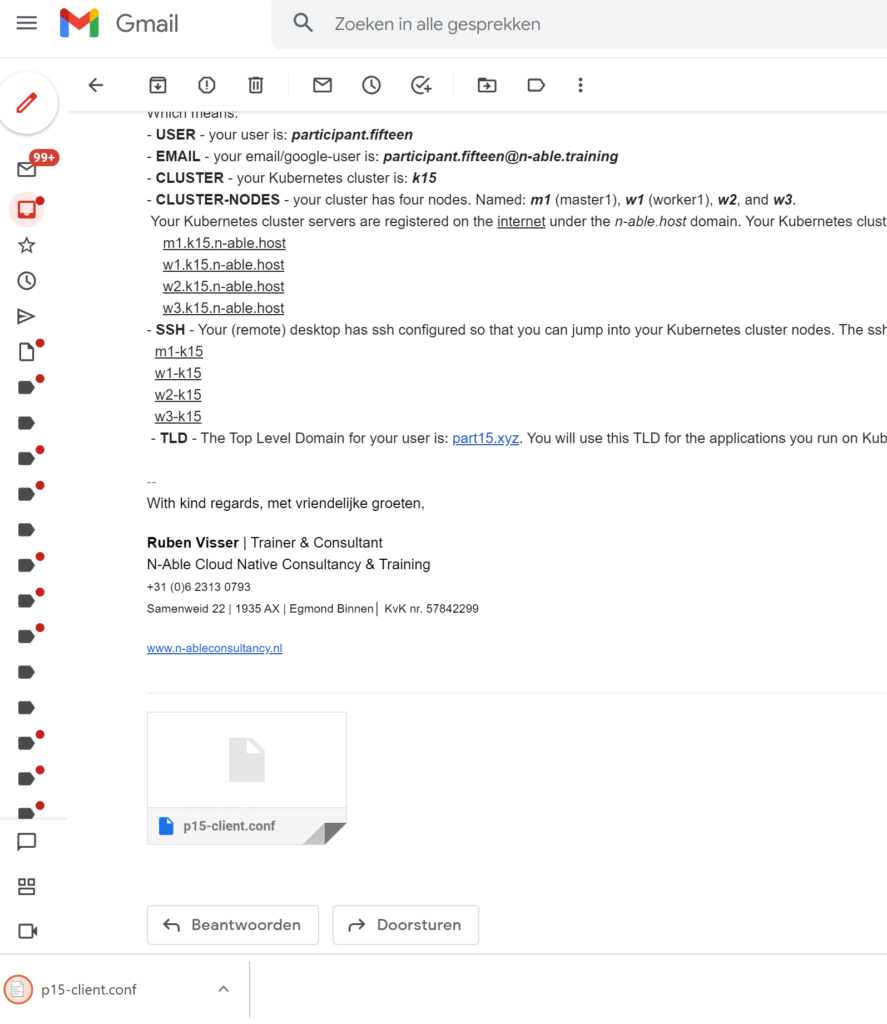
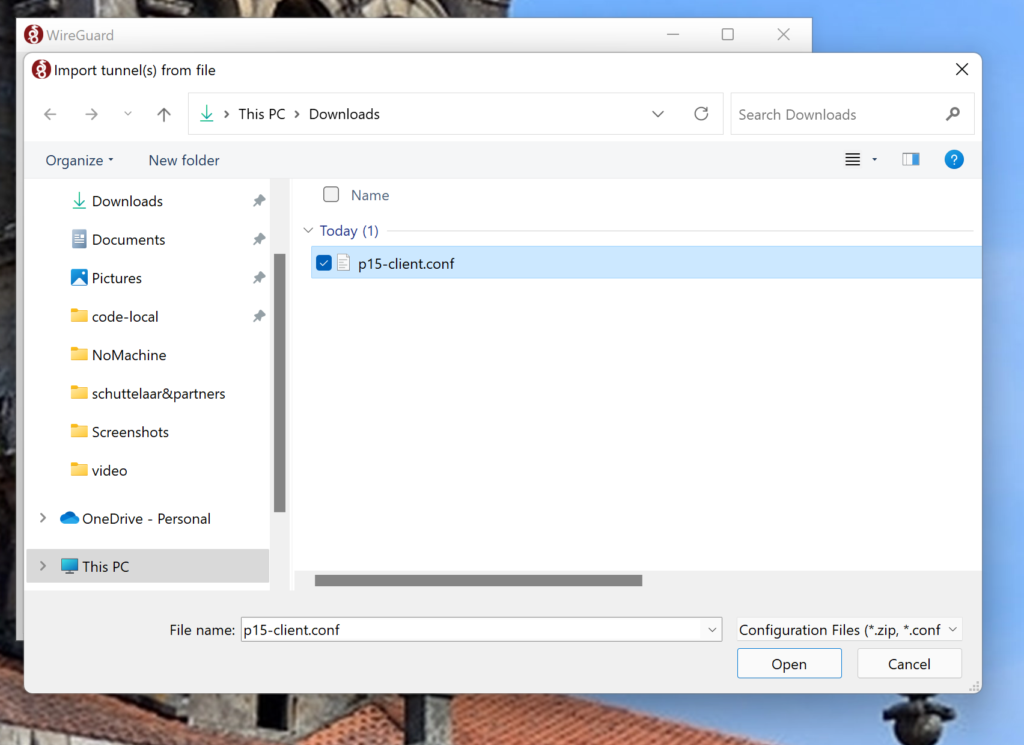
Step1: Save your participant wiregaurd config file to disk
Save the email attachment to your local machine.

Step 2: Open WireGaurd
You can find WireGaurd under the hidden icons.
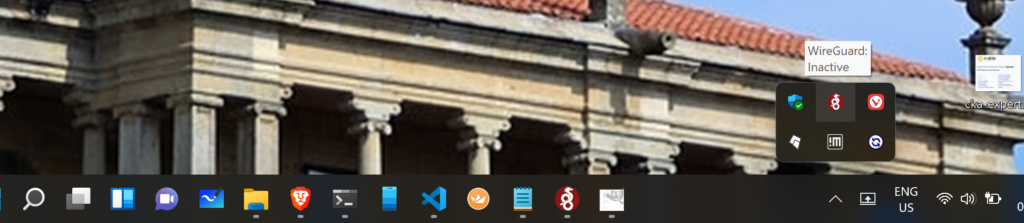
If you click on the WireGaurd icon, the application opens.
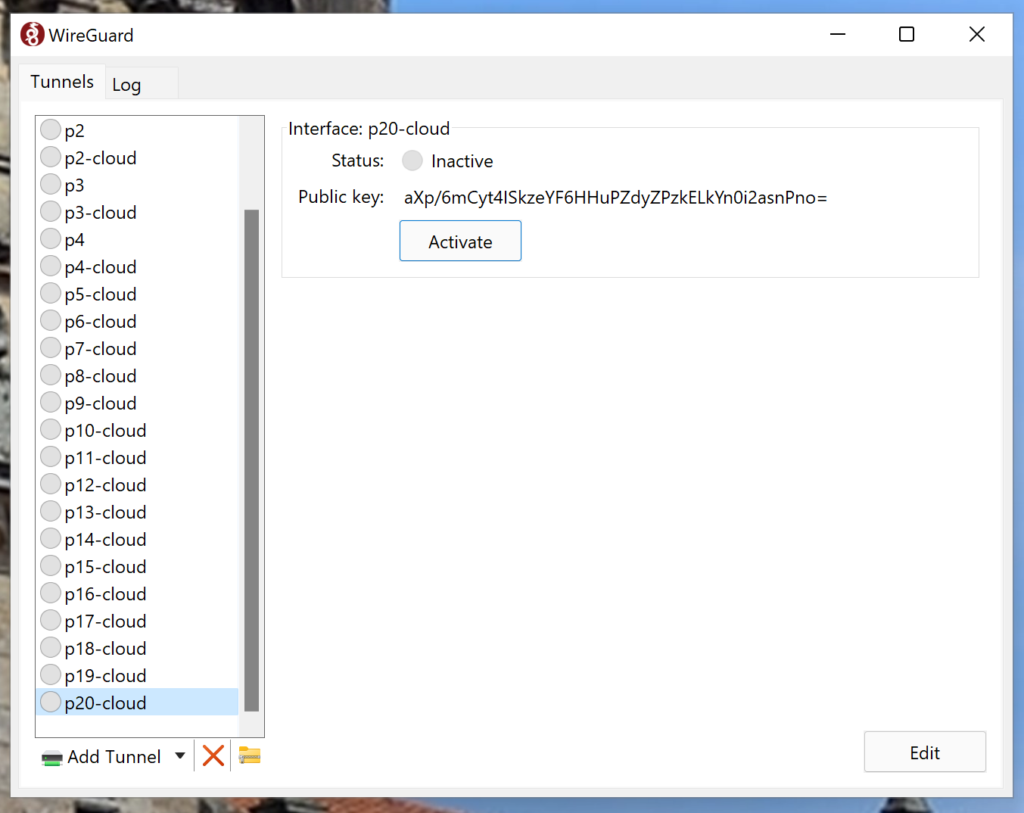
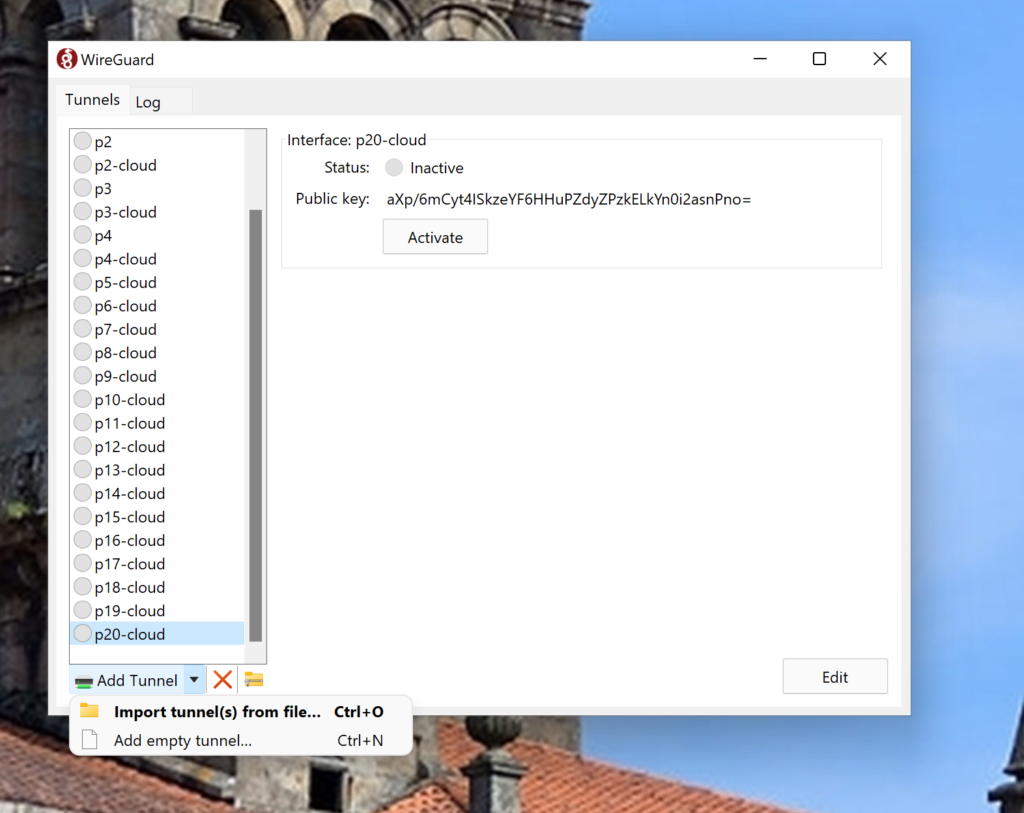
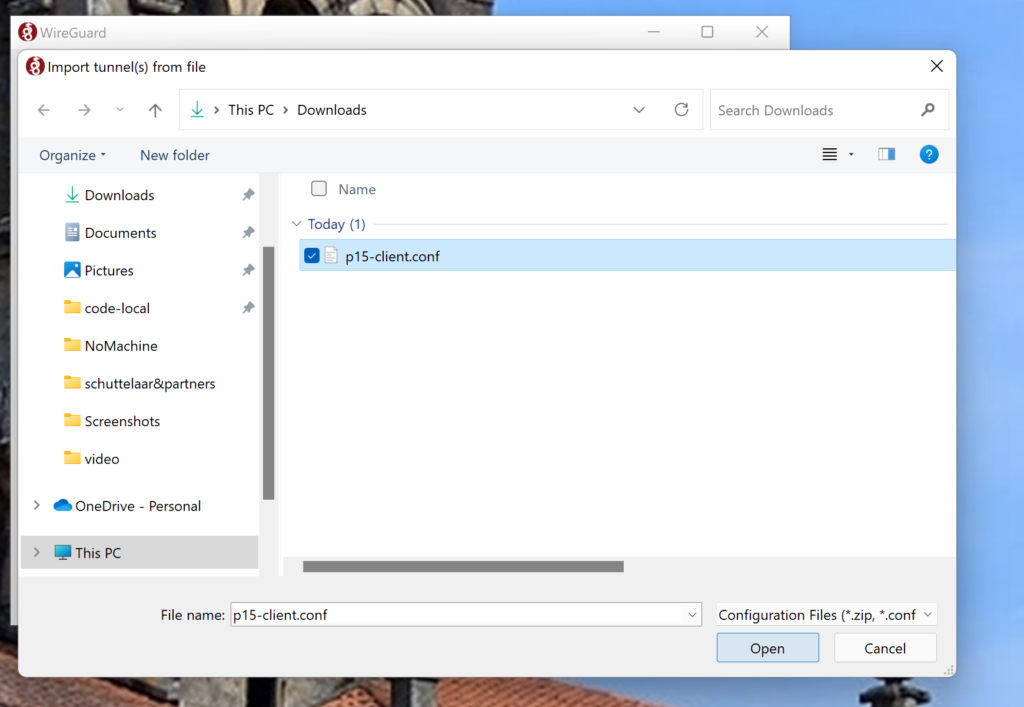
Step3: Import the saved config file
Click on ‘Add Tunnel’ to import the saved config file.
Step 4: Activate your VPN tunnel
Then activate your new VPN tunnel by pushing the ‘Activate’ button.
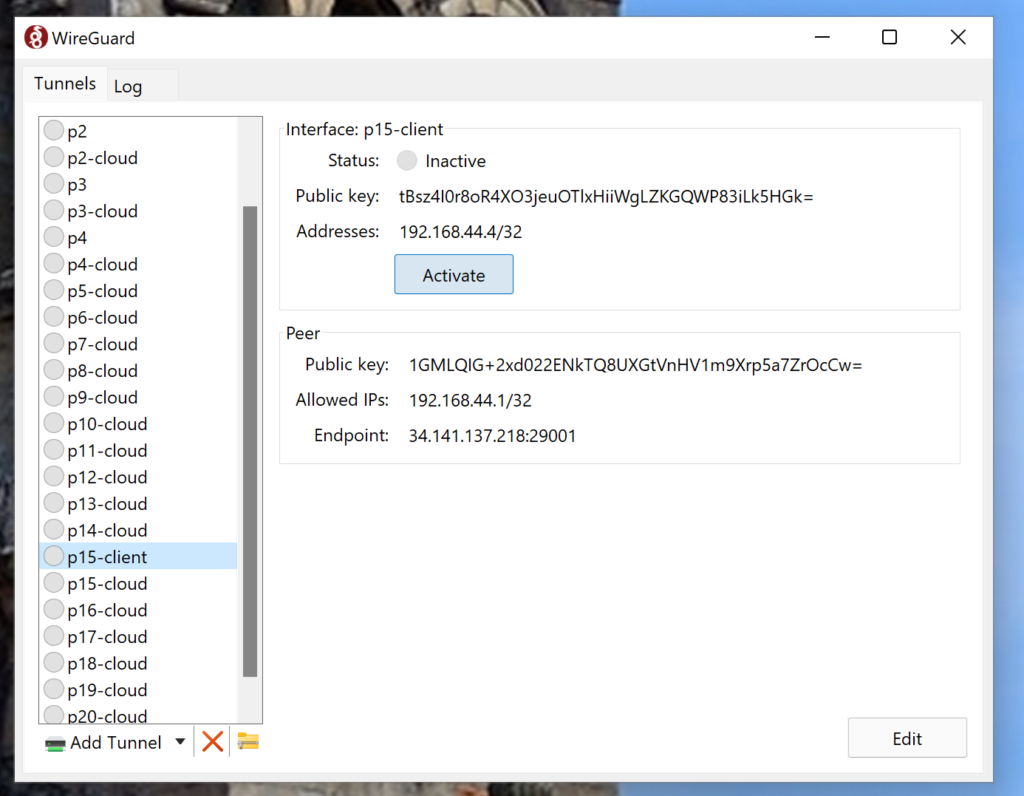
It should switch from Inactive to Active?
Step 5: Final step, test your tunnel
The thing is, it will switch to Active even if your tunnel is not working. So we will test your connection to ensure ourselves all is fine.
Open any windows shell.
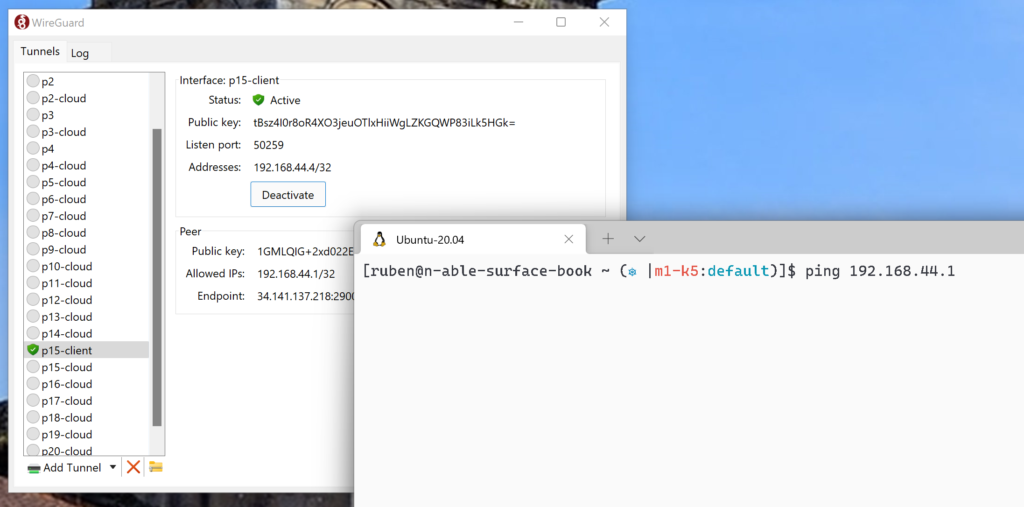
Then ping the IP that is added in the ‘Allowed IPs’ section of your participant VPN configuration.
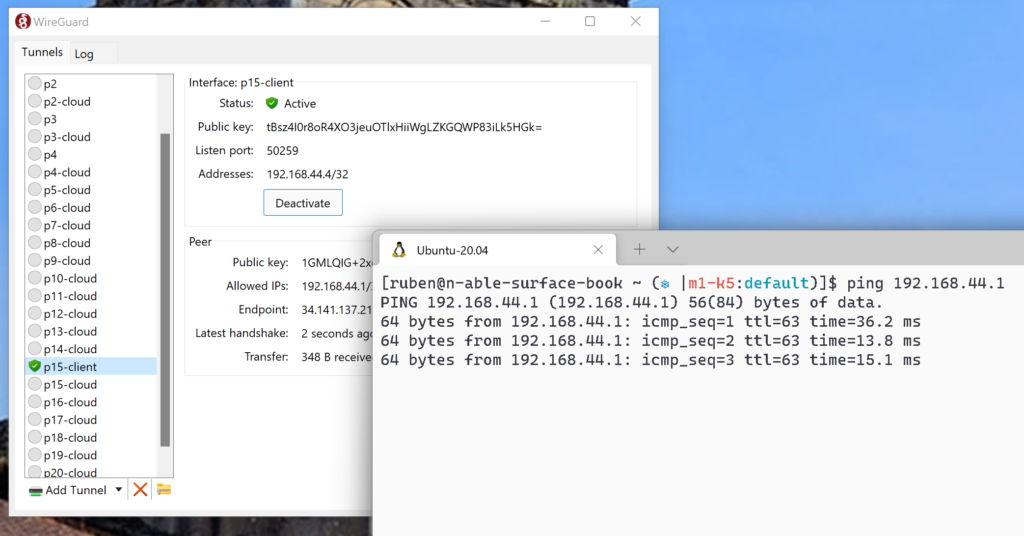
The IP should resolve and be responsive + you see the VPN working by the ‘Latest handshake’ information in your WireGaurd app.
This concludes the WireGaurd configuration.
If it does not work for you, involve your trainer!