Only continue with NoMachine after you are sure your WireGaurd VPN tunnel is working!
Keep your ‘User Information’ email at hand
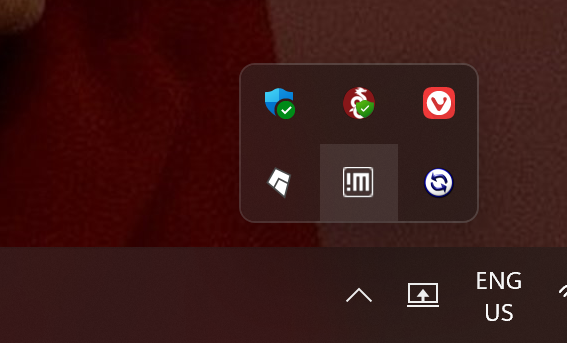
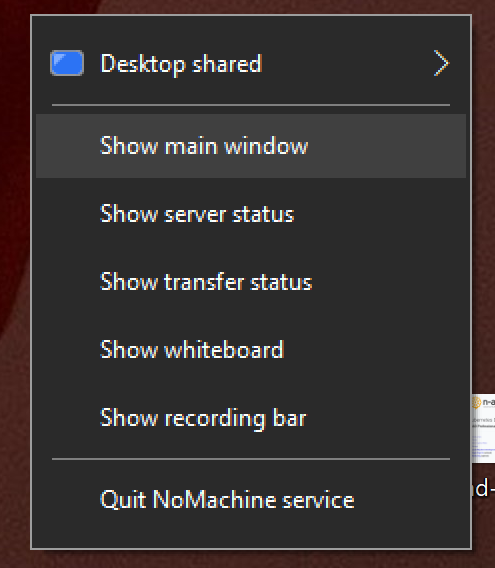
Look at your desktop under hidden icons, and right-click the NoMachine ‘!M’ icon.
Then select the ‘Show main window’.
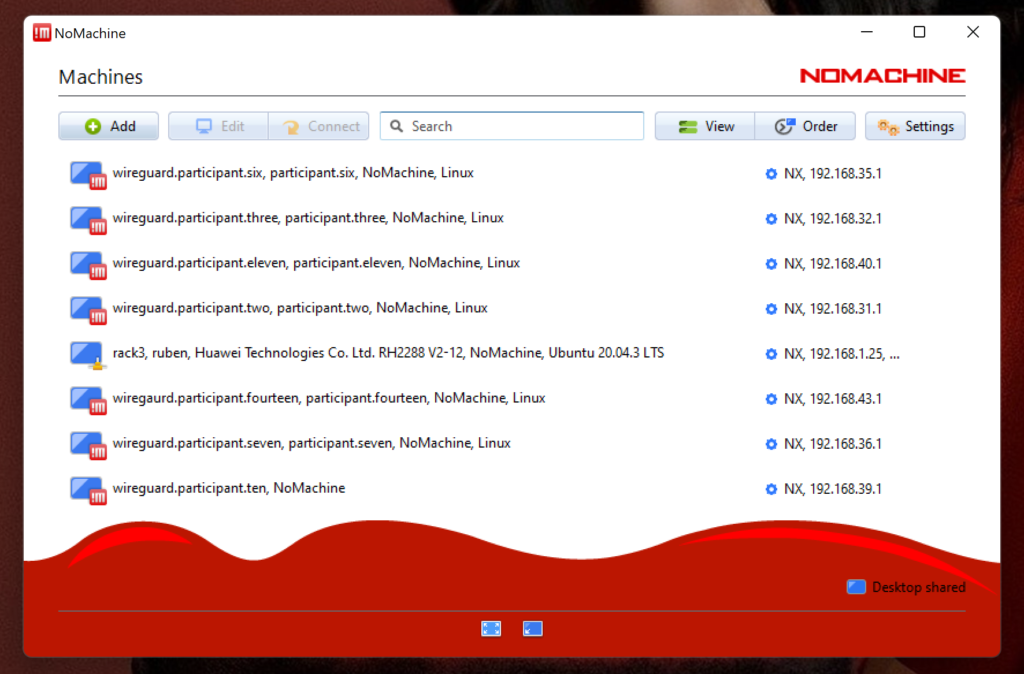
You should see the NoMachine main window. Click on the ‘+ Add’ button to start a new configuration.
You only have to add data to the ‘Name’ and the ‘Host’ fields. The name is irrelevant, I chose to use the participant user name. The Host field is important, here you have to use the IP you pinged earlier. You can find it in your WireGaurd configuration as the IP behind ‘Allowed IPs’.
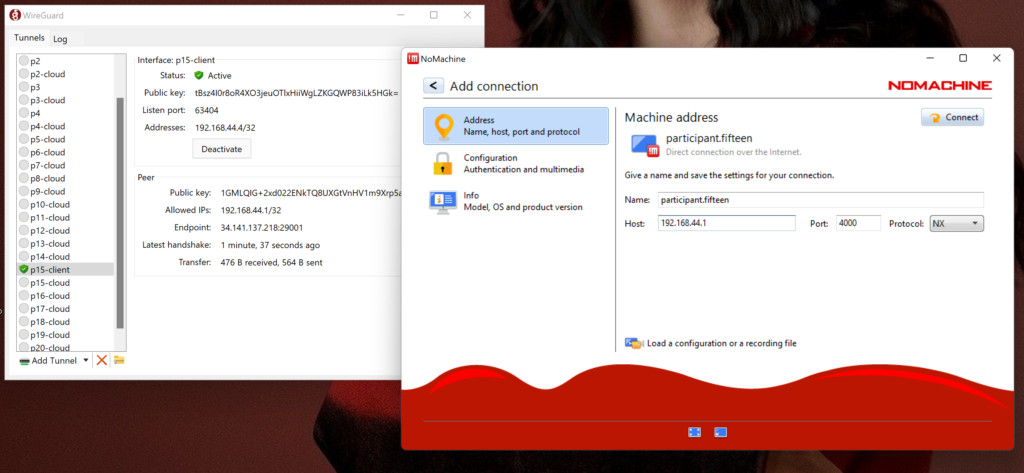
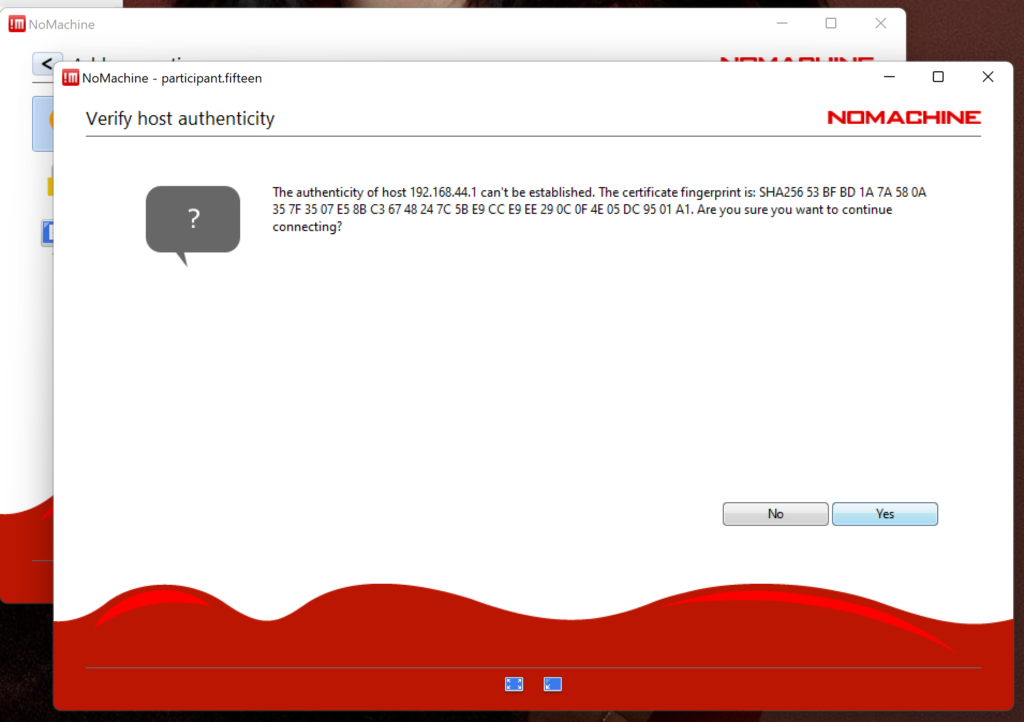
Then push connect. NoMachine comes back to you with a fingerprint confirmation because this is the first time you connect to this server. Just accept by clicking ‘Yes’.
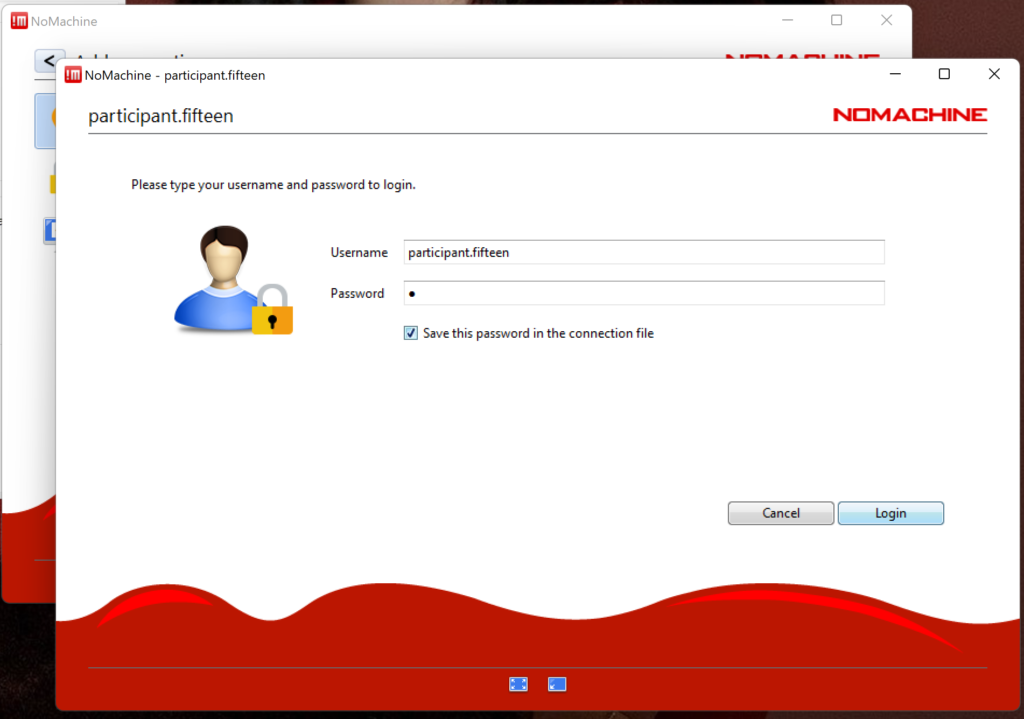
You have to enter your participant user name. If you have not yet memorized it, get it from the ‘User Information’ email.
The password is: a (small caps).
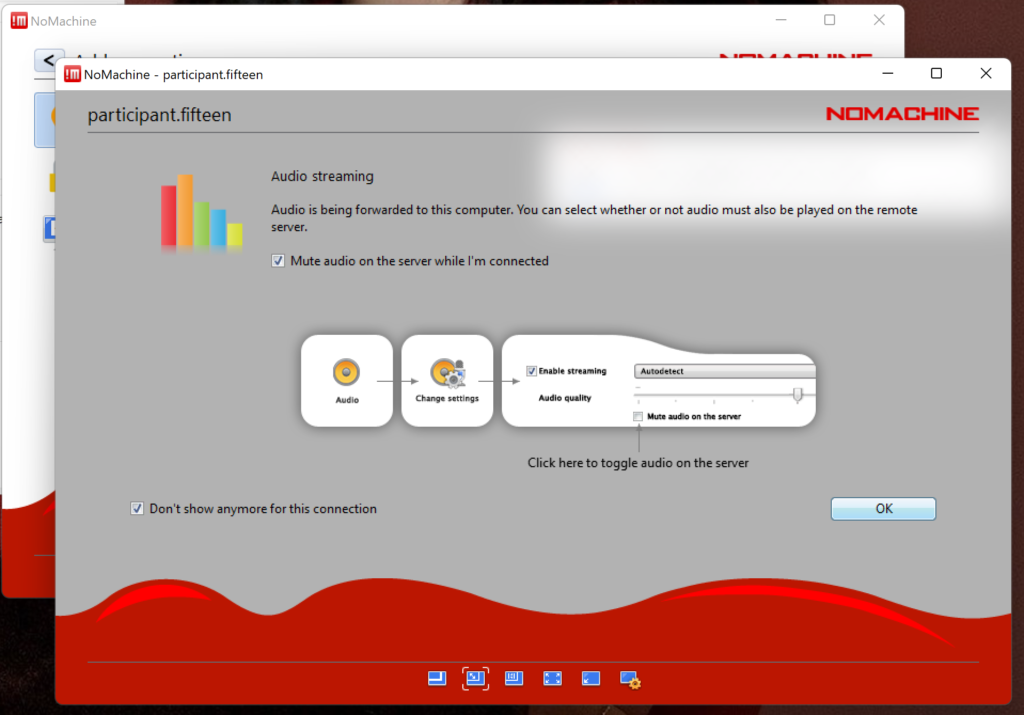
Accept all proposed settings, check the ‘Don’t show anymore’ checkmarks, so you only will encounter these forms once.
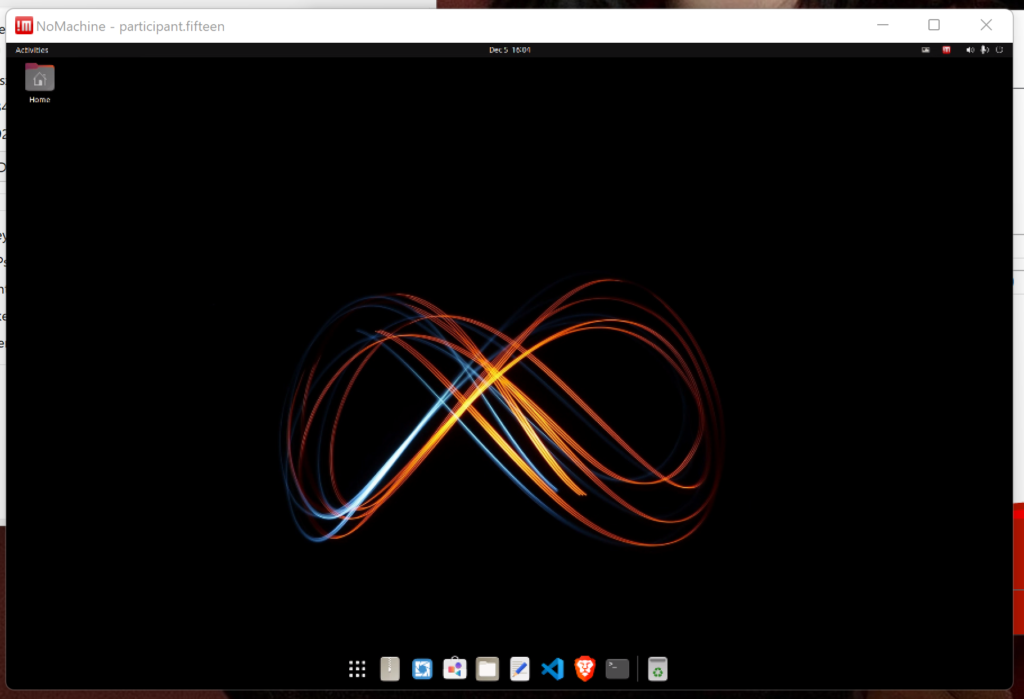
You are expected to be connected to your Remote Desktop?
This concludes the NoMachine configuration.
If it does not work for you, involve your trainer!